Complete Guide to Permanent Videotron Installation: From Design to Commissioning
Permanent videotron installation involves more than just installing LED panels — there are structural calculations, electrical systems, thermal management, and a complex commissioning process. This comprehensive guide covers all its aspects.
A permanent videotron is a significant investment that, if installed correctly, will function optimally for 8-12 years. On the other hand, a poor installation can result in failure within months and remediation costs that far exceed the cost of the initial installation. This guide explains each stage in detail.
Phase 1: Site Survey and Technical Design
Before a single panel is purchased, a thorough site survey is mandatory. What must be evaluated: the condition of the wall structure or frame that will support the videotron (load per m² of complete LED panel can reach 25-40 kg), electricity access (how many amperes are available, distance to the distribution panel), environmental conditions (indoor vs outdoor, direct sun exposure, potential for standing water), and local regulations regarding signage.
Phase 2: Proper Pixel Pitch Selection
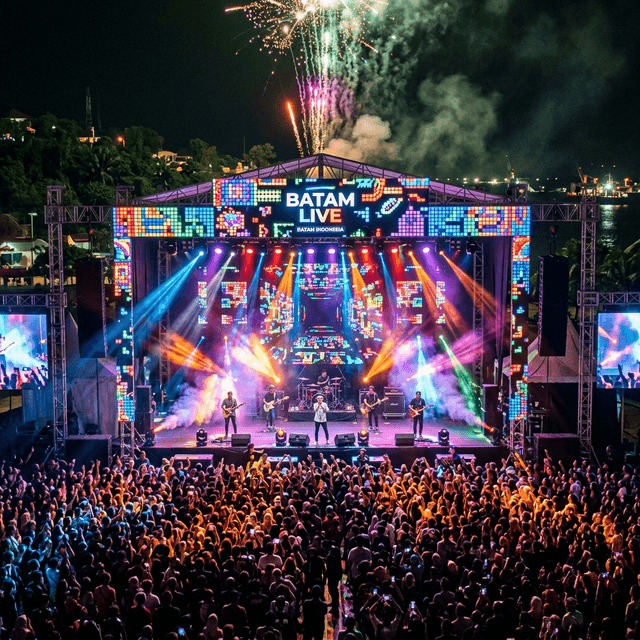
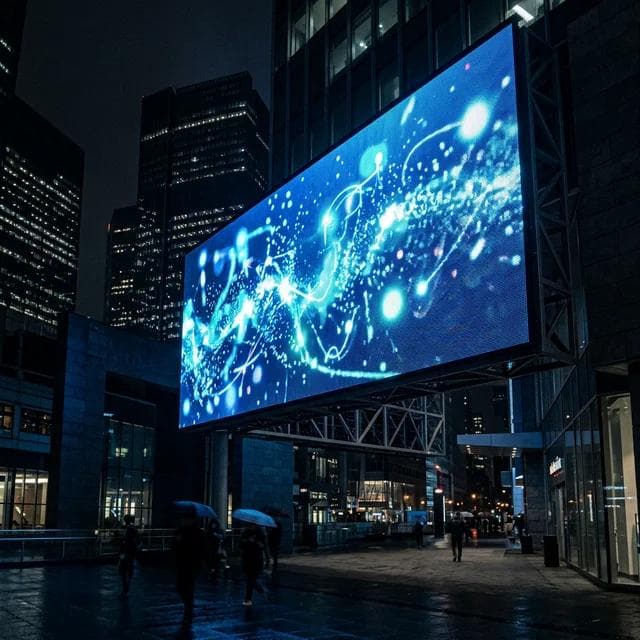
Pixel pitch determines the resolution and minimum viewing distance. Practical formula: minimum viewing distance (meters) = pixel pitch (mm) x 0.8. So P3 is suitable for a minimum distance of 2.4 meters, P8 for 6.4 meters, P10 for 8 meters. For videotrons in hotel lobbies or indoor meeting rooms (visitors 3-8 meters away), P3 or P4 is the sweet spot. For outdoor facades viewed from the street (distance 10+ meters), P8-P10 is sufficient resolution with more cost efficiency.
Phase 3: Mounting Structure Design
The mounting structure is the most often overlooked component. 40x40mm or 50x50mm hollow steel with a thickness of 2mm is the minimum for videotrons up to 10m². For larger sizes or outdoor locations with the potential for strong winds, structural calculations by a civil engineer are required. Structures must be galvanized or anti-rust painted, especially for outdoor use. Minimum clearance of 10cm between the LED panel and the back wall for air circulation and maintenance access.
Phase 4: Electrical System and Power Distribution
Each LED cabinet contains an internal power supply that requires 220V AC input. For a 10m² videotron with around 10 cabinets, total consumption can reach 3-5kW at full brightness. Must use a dedicated circuit with a suitable MCB (Miniature Circuit Breaker) — do not combine it with other circuits. The cable used must comply with installation standards with the correct size based on run length and amperage. Correct grounding is essential for lightning protection in outdoor installations.
Phase 5: Panel Installation and Color Calibration
Installation of LED panels is carried out after the structure and wiring are completed and verified. Panels are installed module by module following the mapped sequence. Once all the panels are installed, the calibration process begins: each module is calibrated against a reference standard using a colorimeter to ensure color consistency across the display. Uncalibrated panels will show obvious color differences between areas — a sign of unprofessional installation.
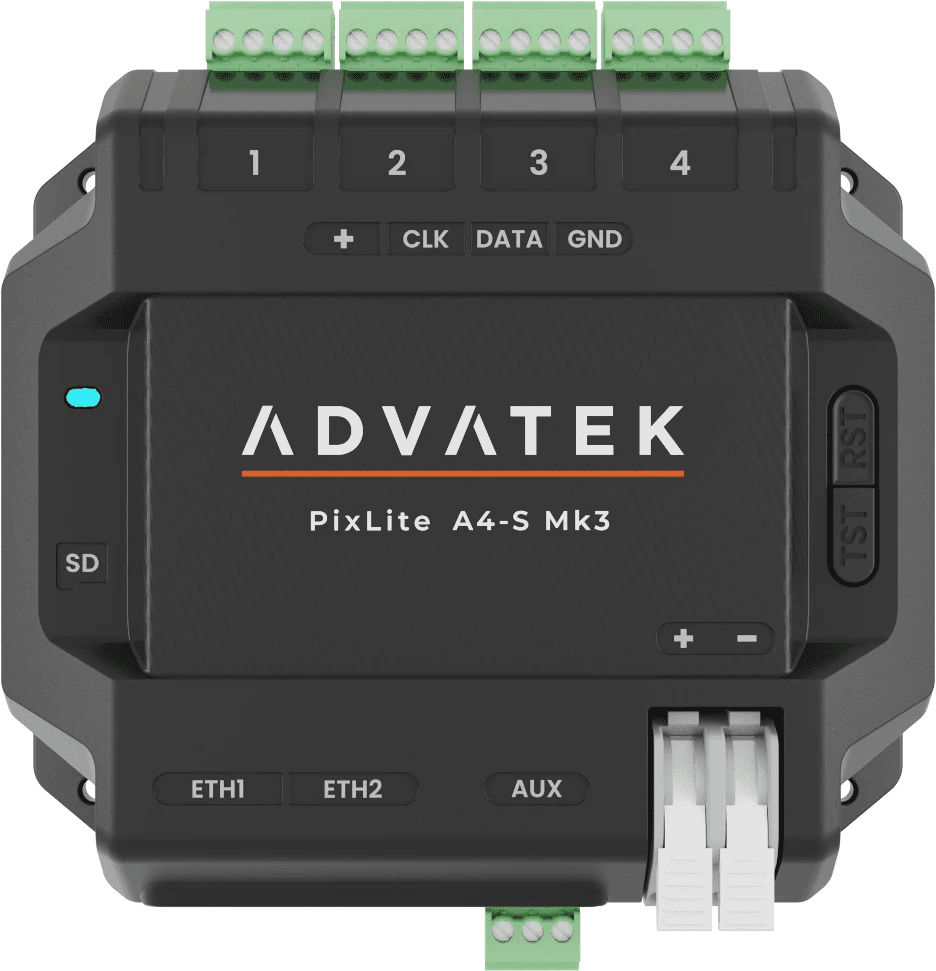
Phase 6: Controller and Software Setup
The sending card (main controller) is configured with the appropriate resolution and layout. The PC or media player that sends content to the sending card must meet minimum specifications: at least the latest generation Core i5 with a dedicated GPU for smooth 4K video playback. Content management software (such as Nova Star V-Can, LedArt, or a custom solution) is installed and tested to ensure scheduling, preset switching, and playback are functioning normally.
Phase 7: Commissioning and Handover
Commissioning is a thorough verification phase: test every pixel for dead pixels, thermal test when operating 4+ hours continuously, verify brightness at various levels, test all controller functions. Handover includes operator training for the use of content management software, complete wiring and configuration documentation, and a preventive maintenance schedule. Do not accept installation without technical documentation — this is important for future maintenance.
Need Help?
Consult Your Lighting Project
Our expert team is ready to help from planning to installation. Free, no commitment.