5 Fatal Mistakes in LED Strip Installation that Often Occur
Mistakes in installing LED strips can result in dead LEDs, fires, or wasted money. Learn the 5 most common fatal mistakes and how to avoid them.
Why do LED strip installations often have problems?
LED strips look simple — just stick them on and connect them to electricity. But in reality, many installations fail in the first few months due to fundamental mistakes that are easily avoidable.
The following are the 5 most fatal mistakes based on the Linevolt team's experience in handling hundreds of projects.
Mistake #1: Power Supply Too Small
Symptoms: LED flicker, inconsistent color, restarts itself, LED at the dimmer end
This is the #1 mistake we encounter most often, even on projects done by other "contractors" before being revised by Linevolt.
Why happens: Many people calculate the maximum wattage of the LED strip (eg: 14.4W/m × 5m = 72W) then choose a 72W or even 60W power supply "that's enough".
The truth: LED strips should not be operated at 100% power supply capacity. Use a power supply with a capacity of 125-150% of maximum requirements.
Correct formula:
For WS2812B (addressable), the calculation is different:
Mistake #2: No Power Injection
Symptoms: The first 2-3 meters of LED are bright, the further towards the end they get dimmer or reddish
The copper inside the LED strip has resistance. The longer the strip, the greater the voltage drop. At a distance of 5 meters, the 12V input can drop to 10-10.5V at the tip — enough to make the LED look dimmer and the color temperature change.
The solution: Power injection — adding power cables directly to the middle or end of the strip, not just from the beginning.
Power injection intervals:
Mistake #3: Not Using Aluminum Channel
Symptoms: LED strip heats up quickly, short life, color changes over time, strip comes off easily
LEDs produce heat. Without proper heat dissipation, LED temperature rises and LED life shortens drastically. At 85°C (max sheer temperature), LED lifespan can drop from 50,000 hours to under 10,000 hours.
Aluminum channel (extrusion) functions as:
Cost of aluminum channel: IDR 35,000-80,000 per meter. Cheap compared to the price of LED strips which have to be replaced early.
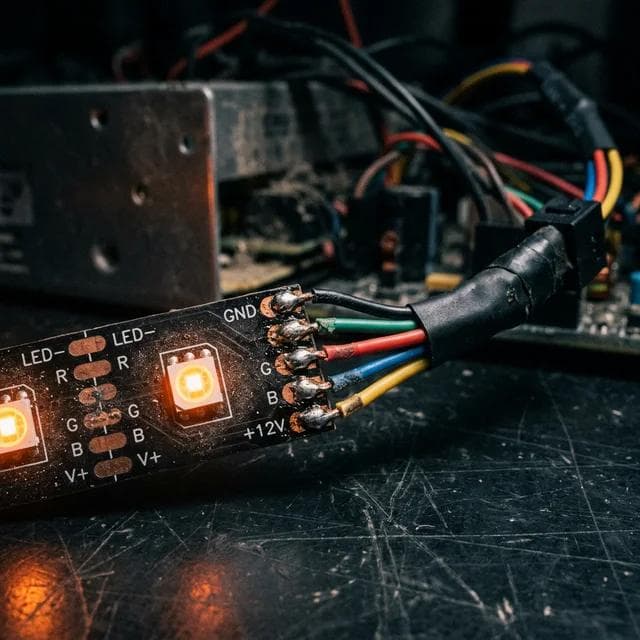
Mistake #4: Bad Connection
Symptoms: The LED at the connection point is flashing, not lit, or is a different color
Commercially available push-in LED connectors are practical, but not suitable for permanent installation. Loose connections cause high resistance at the connection point, generating heat, and ultimately the connection breaking.
Professional installation standards:
Mistake #5: Ignoring IP Rating (Waterproofing)
Symptoms: LED turns off after rain or exposure to water vapor, rapid corrosion of components
LED strips are available in various levels of protection:
Common mistake: using an IP20 LED strip in the bathroom, outdoor, or kitchen area near the stove, then wondering why it breaks so quickly.
Simple rules:
Addendum: Frequently Overlooked Mistakes
Do not turn off the LED when connecting: Always turn off the power before cutting or connecting the LED strip. The voltage that flows during the connection can damage the IC in the addressable LED.
Wrong direction of data: Addressable LED strip can only receive data in one direction. Make sure the arrow on the strip points from the controller to the LED, not the other way around.
Conclusion
Proper LED strip installation requires planning, the right components, and careful workmanship. A small mistake can result in repair costs that are much greater than the initial cost of professional installation.
If you are unsure about any of the steps above, consult Linevolt's team of professionals. We provide free consultations and site surveys to ensure correct and long-lasting installation.
Need Help?
Consult Your Lighting Project
Our expert team is ready to help from planning to installation. Free, no commitment.